Getting started
You can start a new project in two ways: by creating a new application, or by using another application as a starting point.
Creating a new project
Getting started with JitBlox is as easy as hitting the Create a new app button on our home page. This will bring up the "Create a new app"
page from which you can select a project template, or choose to create a blank project instead. A JitBlox project always has at least one root component,
which you can recognise by the "(root)" suffix. The root component can never be deleted and is named App
by default.
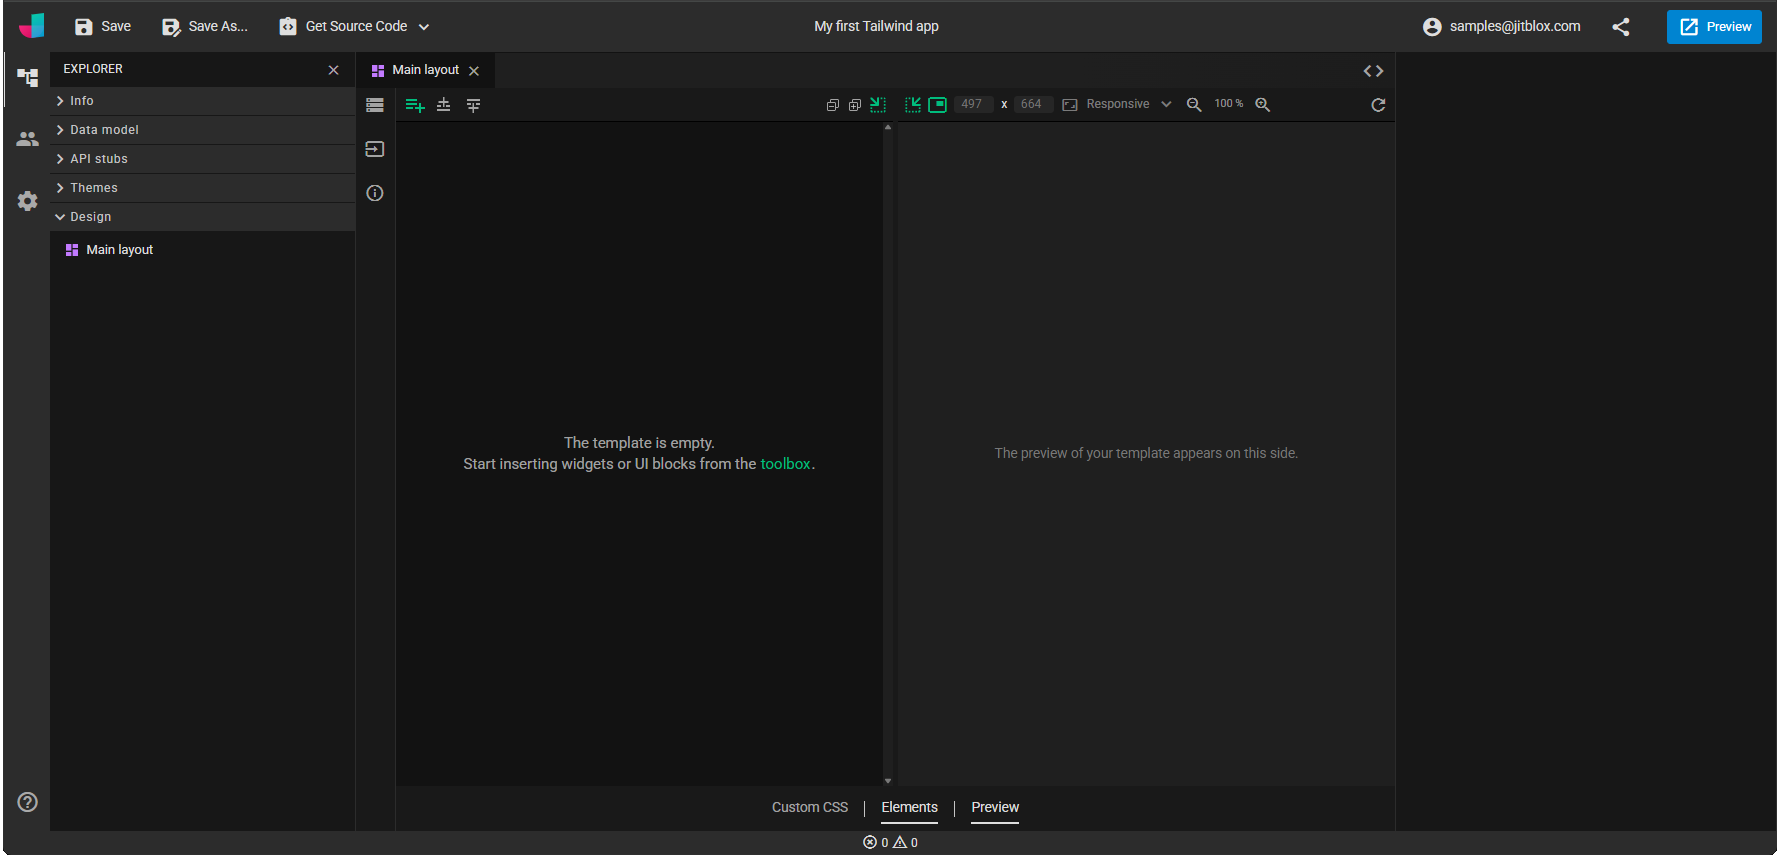
The component editor lets you create your component's layout and add dynamic behaviour, such as displaying data and responding to user interface events. You create the layout (the template) by adding plain HTML elements and other prebuilt components from the toolbox onto the template:
Note: you may also want to start from an existing, public project by saving your own copy, see copying an existing project below.
You can create your own components from the Components tab in the Side Bar, either by clicking the "New Component" icon library_add that shows up when you hover over the "Components" tab title, or directly from the context menu. Any component that you create is automatically added to the toolbox, making it available for use by components.
Basic concepts
While the component editor is where you will spend most of the time, understanding some other basic concepts helps you to get the most out of JitBlox, so let's have a look at them. If you have some experience with building dynamic web applications, these will all sound very familiar to you.
- Data model: Most single-page applications will have some data to display. The data model is
where you define all data types that your application needs. For example, if you are building an online
bookstore, you
might want to define a type
Book
with properties likeTitle
andAuthor
. This information can then be used by a component that might need to display a the title of a selected book. Learn how to create a data model. - API Stubs: Most likely, the application you are designing will not have its own data: it will retrieve data from a backend such as a CMS or a REST API. By defining API Stubs, you can simulate this backend by creating "fake" data sources with realistic mock data but without a hard dependency on a the actual data source (which might not even exist yet). By using API stubs, JitBlox can also generate a lot of boilerplate code that will be be very useful when your application evolves. Learn how to create API stubs.
- Component editor: as you already know, components are the reusable parts of an application.
For example, you could build a
Book summary
component that can be reused across other parts of your application. And inside thisBook summary
component, you might have a HTML heading that shows (or: is bound to) theTitle
of aBook
. Learn how to use the component editor. -
Routing: In a single-page application, each page is also a component (but with some additional
features). Navigating between these pages is achieved as follows:
- Using the application root component as the main layout, containing only the parts that never change (such as a header, footer and navigation elements).
- Giving each page-component its own URL (which is called a route).
- Adding router links to the root component, where each router link refers to a different page-component.
- Giving the root component a so-called router outlet (sometimes also called a router view) in the place where the active page should be visible. The router uses the current URL (which can be changed by clicking a router link) to determine which component to display in the router outlet.
Copying an existing project
If you don't want to start from scratch, you can also save your own copy of another project that was made public by its creator. For example, you can take any of the projects from our list of example projects as a starting point. You can make changes to the application right-away, but if you want to keep your changes and save them to your own account, you will need to click the Save As... button.